For your DIY board and batten project, start by choosing durable materials like pine or vinyl that suit your style. Plan your design by measuring wall space and spacing battens 12 to 24 inches apart. Use precise cuts and secure boards with finishing nails for stability. After installation, prime and paint with quality products for a professional finish. Don’t forget to maintain your boards regularly—there’s plenty more to learn to guarantee your project lasts!
Choosing the Right Materials
When you’re ready to tackle your board and batten project, choosing the right materials is essential for both durability and aesthetics.
Start with quality wood, like pine or cedar, which can withstand wear and tear while providing a classic look. If you’re aiming for a low-maintenance option, consider composite materials or vinyl, which resist rot and insects.
Don’t forget about the finish; a good paint or stain can enhance the wood’s natural beauty and protect it from moisture.
When selecting trim, make sure it complements your chosen boards for a cohesive appearance.
Ultimately, the right materials can elevate your project, guaranteeing it lasts for years and looks fantastic in your home.
Make informed choices to achieve the desired outcome effortlessly.
Planning Your Design Layout
After selecting the right materials for your board and batten project, it’s time to focus on planning your design layout.
Start by measuring the wall space where you’ll install the boards. Decide on the height for your battens; a common choice is between one-third and two-thirds of the wall height.
Visualize your design by sketching it out or using painter’s tape to outline where the boards will go. Consider the spacing between the battens, which typically ranges from 12 to 24 inches.
Verify the layout complements your room’s style and proportions. Don’t forget to factor in any windows or doors, adjusting your design accordingly to maintain balance and harmony.
This thoughtful planning sets the stage for a stunning finish.
Proper Installation Techniques
When you’re working with board and batten on an angled wall, you’ll need to adjust your approach for a clean finish.
Start by measuring the angle carefully to guarantee your boards fit snugly.
With the right cuts and a steady hand, you’ll create a stunning look that enhances your space.
Board & Batten on an Angled Wall
Installing board and batten on an angled wall can seem intimidating, but with the right techniques, you can achieve a professional-looking finish.
Follow these steps to guarantee a smooth installation:
- Measure Carefully: Start by measuring the angle and length of your wall to determine the exact dimensions for your boards.
- Cut with Precision: Use a miter saw to cut your boards at the correct angle, guaranteeing a snug fit against the wall.
- Use a Level: Always check your boards with a level as you install them to maintain a straight line, regardless of the wall’s angle.
- Secure Firmly: Attach the boards using finishing nails, making sure they’re anchored into the studs for stability.
With these techniques, your angled wall will look stunning!
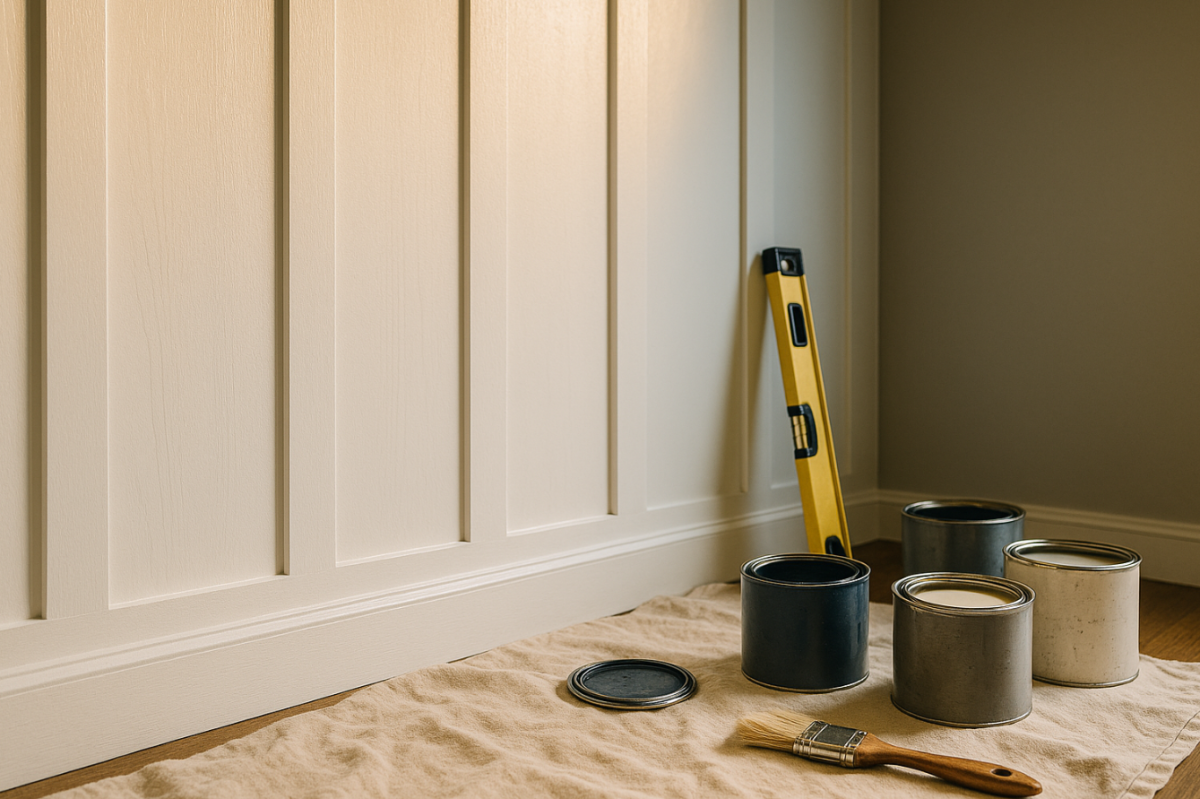
Painting and Finishing Tips
Once you’ve completed your board and batten installation, the next step is to elevate its appearance with thoughtful painting and finishing.
Start by choosing a high-quality primer to guarantee the paint adheres well and lasts longer. Apply it evenly with a brush or roller, filling any gaps or imperfections.
Once dry, select a paint that complements your space. You might prefer a matte finish for a cozy feel or a semi-gloss for a more polished look. Use a paint sprayer or brush for smooth application, and don’t forget to tape off edges for clean lines.
Finally, consider adding a protective topcoat for durability, especially in high-traffic areas. Enjoy your beautifully finished board and batten!
Maintaining Your Board and Batten
Maintaining your board and batten guarantees it stays looking fresh and vibrant for years to come.
Regular upkeep is essential, and it doesn’t have to be a chore. Here are four easy maintenance tips:
- Inspect Regularly: Check for signs of wear or damage, like cracks or peeling paint.
- Clean Often: Use a soft cloth or sponge with mild soap to wipe down surfaces and remove dirt.
- Touch Up Paint: Whenever you notice chips or scratches, touch up the paint promptly to prevent moisture damage.
- Seal Annually: Apply a water-resistant sealant once a year to protect the wood from the elements.